by Heitor Murilo Gomes, Maroua Bahri, Albert Bifet on March 20, 2020 using MOA 2019.04.
1. Getting started
The focus of this tutorial is to show how to build MOA from the source code available in the GitHub repository. It is specially useful for people intending to extend MOA (e.g., researchers or developers), if you just want to use MOA, then the first tutorial on this series (available here: \firsttutorial) is more appropriate.
There are multiple ways of building the MOA code, however, we are going to focus on using one of the easiest, so that you can (hopefully) get started with coding in MOA in less than 5 minutes.
Disclaimer
- During the development of this tutorial the latest version of MOA was 2019.04 (available here: here, but it is not really necessary for this tutorial). However any future release in the GitHub repository should work.
- We assume you are already familiar with what is MOA and the MOA GUI. If that is not the case, you probably should check this tutorial first
- You may want to fork the repository before cloning it, so that you have your own ‘copy’ of the repository.
Requirements
- We are going to use Intellij IDEA Community version. Download and install it from here.
- You will need a Java JDK 8 or later. You can download Java JDK 8 from here. Tip: Check what java version you have installed with the command ‘java -version‘ in a terminal.
- It is easier to obtain the source code if you use Git. Download and install it from here. Optionally, you can ‘git clone‘ the repository and ‘import‘ the project in Intellij IDEA, there are other options like downloading a zip with all the code, but importing it directly is easier.
2. Building the code
Step 1
Open Intellij IDEA and click on “Check out from Version Control” as shown below.
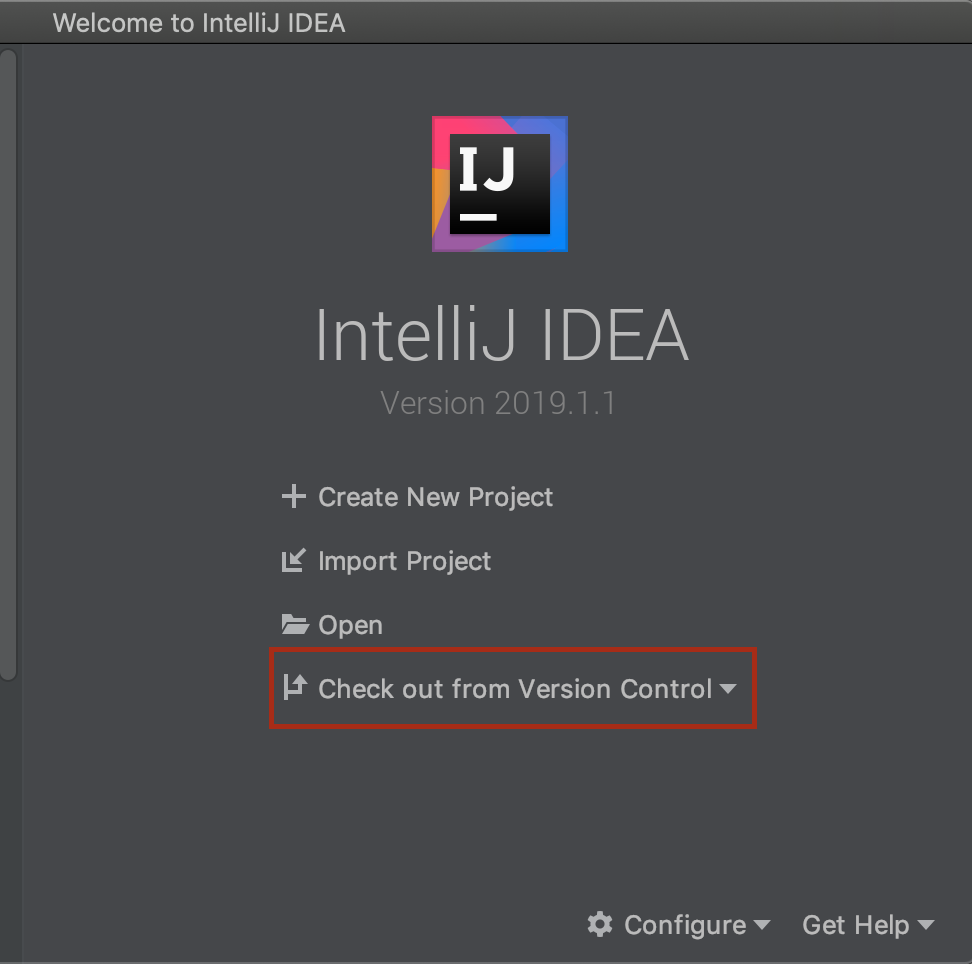
Figure 1: The welcome window of Intellij IDEA.
There are two other options to check out the project from GitHub.
Via “File > New > Project from Version Control… > Git” as shown below.

Figure 2: New Project From Version Control
Or via “VCS > Checkout from Version Control > Git” as shown below.
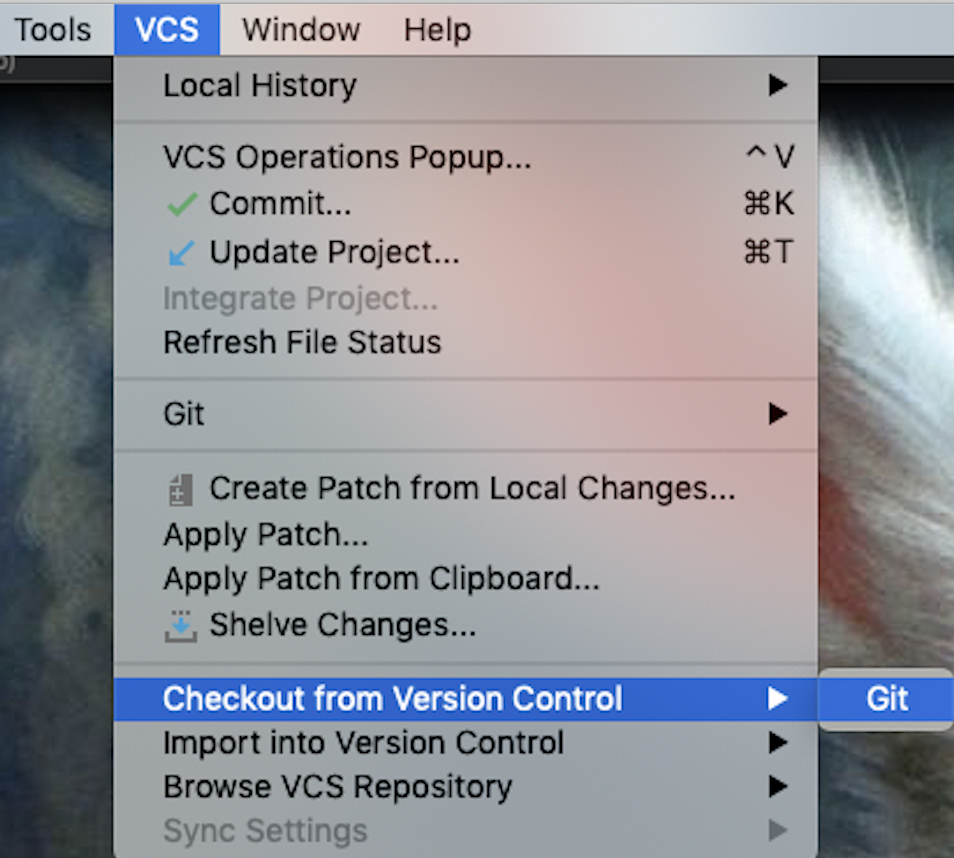
Figure 3: Checkout from Version Control
Step 2
Copy the link to the repository as shown below.
The link to the repository: https://github.com/Waikato/moa
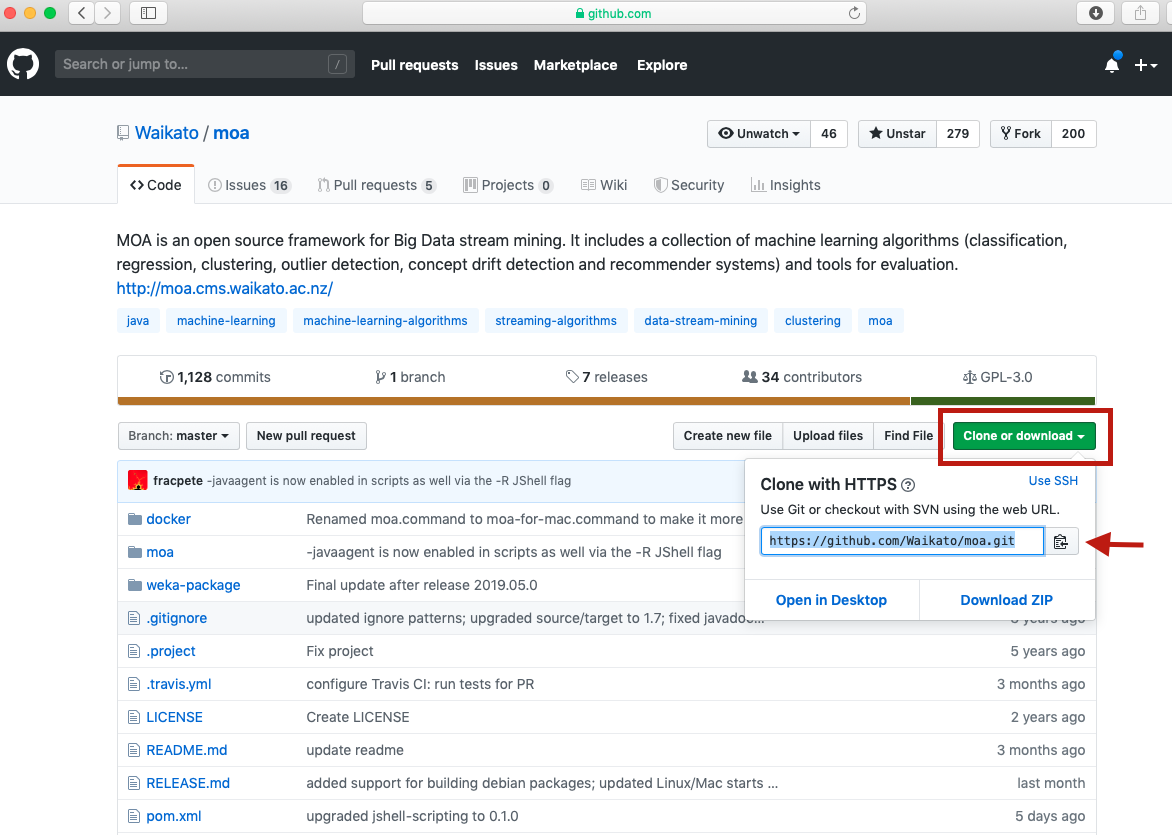
Figure 4: Copying the URL for the Git repository.
Step 3
Paste and test the URL in the “Clone Repository” window as shown below.
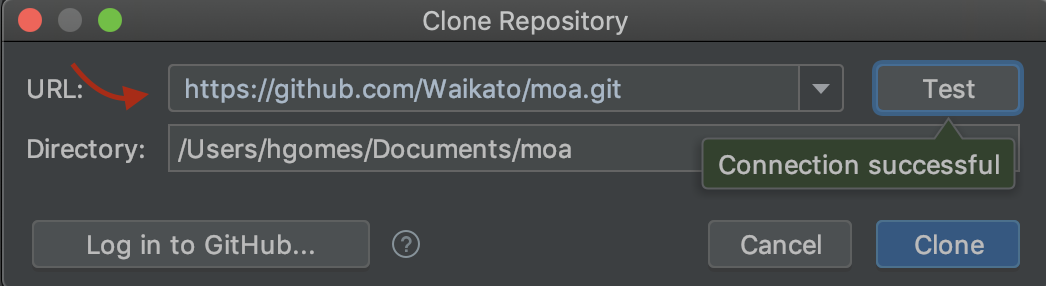
Figure 5: Cloning the repository.
You should obtain a message as shown below. Click on “Yes” to open the project.
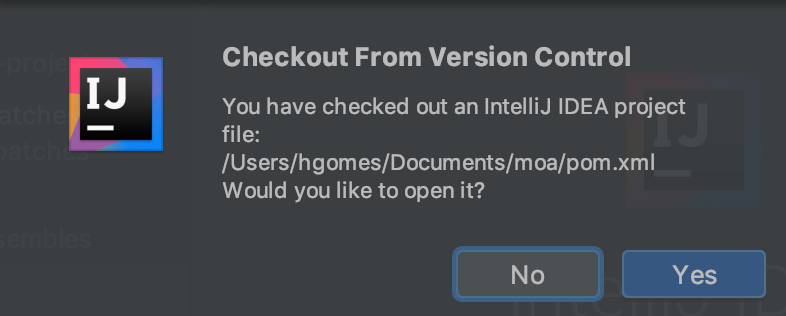
Figure 6: The checkout was successful.
Step 4
Add a new configuration by clicking on “Add configuration” as shown below.
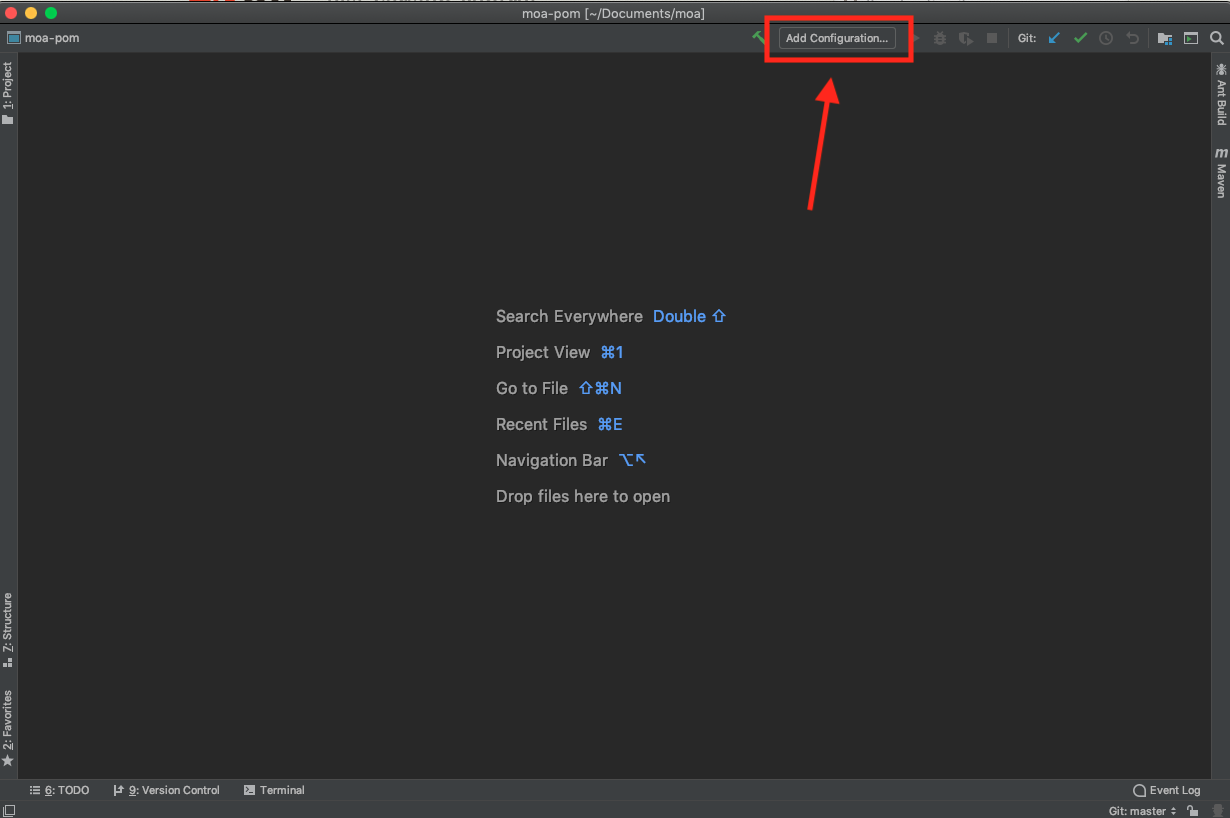
Figure 7: Accessing the configuration menu.
Step 5
Add a new “Application” configuration by clicking on (1) and then (2) as shown below.
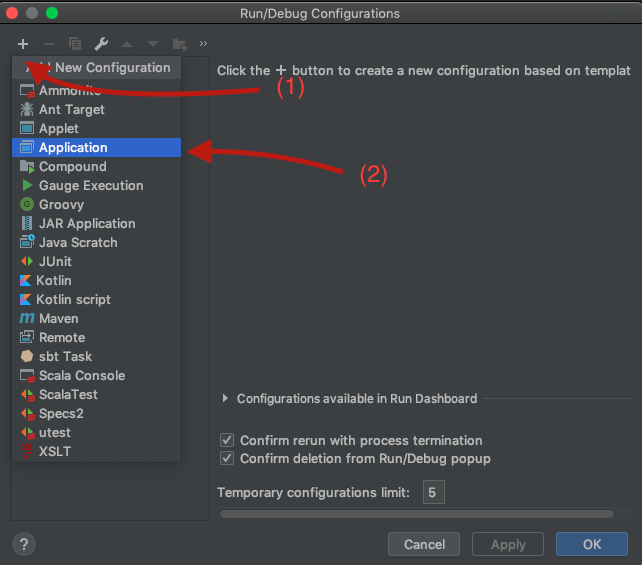
Figure 8: Adding a new configuration.
Step 6
Setup the run configuration as described below and illustrated in the Figure:
(1) Give it a meaningful name (e.g., “GUI” or “run GUI“);
(2) Select the class “moa.gui.GUI“;
(3) Select the module “moa“;
(4) Check if the default JRE is correct*.
- If you run into trouble configuring the Java JDK in Intellij, you are not the first one, so refer to this tutorial.
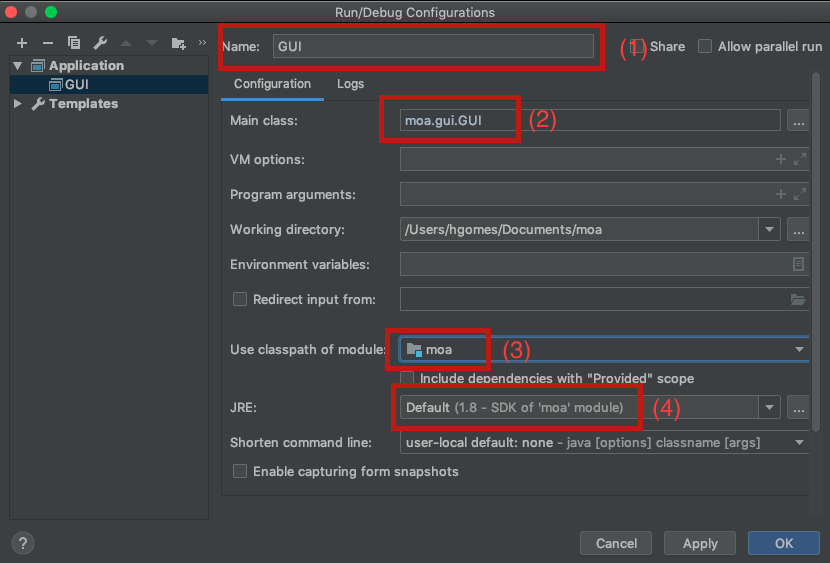
Figure 9: Options for the run/debug configuration.
Step 7
Run or debug the MOA GUI by clicking on Run or Debug as shown below.
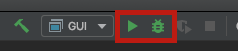
Figure 10: Build and run/debug.